
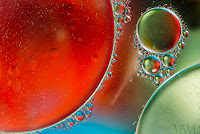
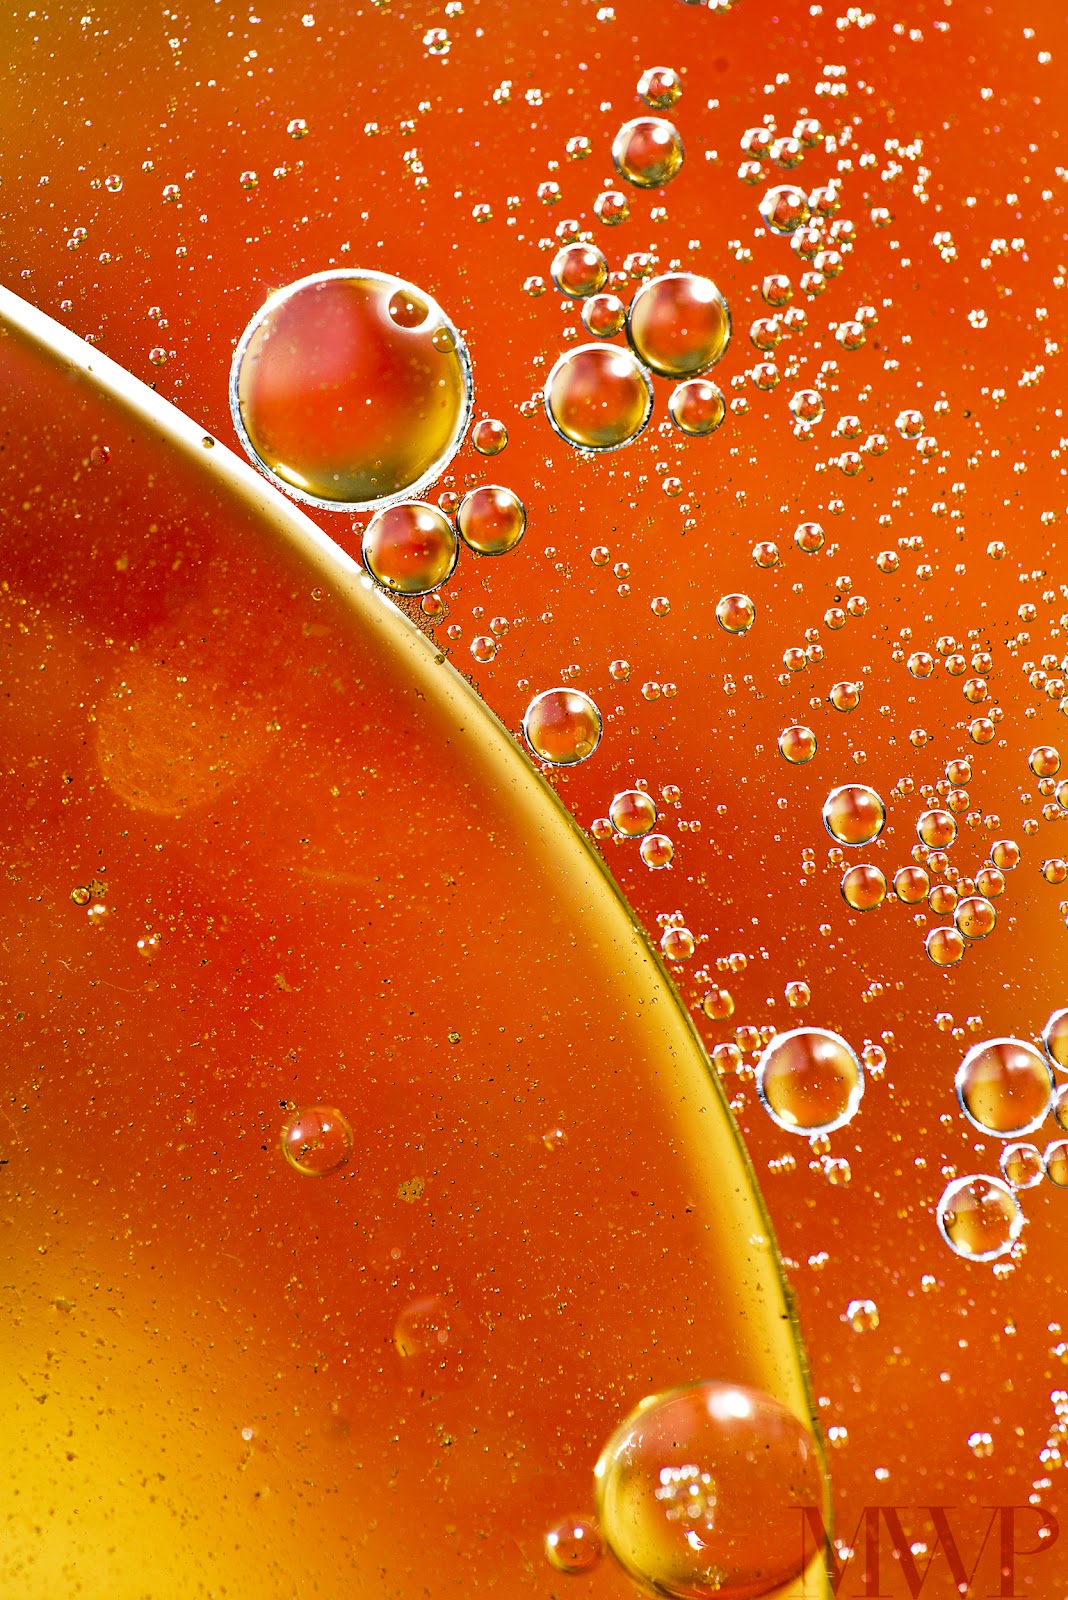
Sometimes, you come along photos online that look completely otherworldly. They amaze you, and it takes all you can do to try and figure out how the photographer accomplished something like that. A few years ago, I came across a shot that looked strikingly similar to the one above. The only thing was, it was black and white, and high contrast. This made for a great artsy print, but I just felt that colors would really bring out the contours of the shapes, and make for some really interesting semi-abstracts. It's a great technique to learn, and I'm going to show you how to do it.
The only thing is, for the life of me, I couldn't figure out how the photographer could have gotten a shot like that! After some digging, I came across a setup shot with no description or other information given. It was enough, though, for me to get a general idea of how to get the shot. So, I took off the next day and attempted to replicate what I had seen, only this time, in color.
Long story short, it wasn't a vastly successful shoot. Just like any newly acquired skill or craft, it requires some experience and practice to learn the ins and outs of the trade, and to really hone your skills. These were really the only keepers from the first shoot:

Nikon D300s | Sigma 105mm F/2.8 EX DG Macro

So, this time I set out to do it better. I have learned and grown a lot, photographically, since the last time I tried to shoot a shot like this. I've learned a lot about the ins and outs of the optical mechanics of both macro photography, and the sensor inside of the camera as well. It could be said that I've also learned a bit about the workings of oil and water, and the relationship between the two.
I know what you're all saying: "yeah, yeah. Let's just get to the goods, shall we?" Well, I agree. Here goes:

Step 1: Gather Materials.
Materials
- DSLR
- True Macro lens (1:1 magnification is almost necessary)
- Sturdy tripod
- Reflector (optional, but recommended)
- Small aquarium (other clear-bottomed container will work. Bottom should be glass and thin, though. The sides should be relatively tall to cancel wind.)
- Water
- Household vegetable oil
- Grease-fighting dish detergent (I use original Dawn)
- Food coloring/Water flavorings (optional)
- Stick/other stirrer
- Image editing program
- Multiple colored objects/fabrics. Anything will work. Brighter colors are better, and synthetic colors work better, because they're generally brighter, and more bold.


For my first attempt, I used a bathroom towel with multiple, small, colored penguins on it. All the colors were very vibrant and there were LOTS of them on there. It worked well. I just wasn't able to really construct the color combinations how I wanted them.
This time, I took a MUCH more organic approach to the process of gathering materials. This time, I did more than that. I harvested. Here were some of the (not so) lucky objects I used to get my colors:
Black-Eyed Susan petals 
Hawaiian Hibiscus petals 
Hibiscus petals and leaves 
Rose of Sharon petals

Random neighbors' flower petals

Mexican rose petals

Congregate of all the petals/leaves Many more species were included (orange gladiolus, purple pansies, rhododendron, etc), with no photos taken. Sorry, but you get the idea. ;)


 |
| 1 |
 |
| 2 |
- Start as early as possible. As you can see in photo 2 above, if you shoot around noon, when the sun is directly over head, you will get nasty shadows on your objects. Not to mention you will be directly over these objects, your water/oil will act as a natural filter, and drop your light intensity quite dramatically. You need as much light as possible as you'll need a reasonably fast shutter speed and large aperture. So, this isn't such a great obstacle to have. A reflector can help, but it can also get in the way ALOT. Especially if there is a bunch of wind around. So, avoid the hassle and start early and position the container to face east so the shadows are pushed west, and away from the line of fire.
- Layer your objects in color-coordinated splotches on a flat surface. This step is what is really important! Whatever your objects/fabrics are, you MUST make sure to color-coordinate them. That is, not to match the color with the same color, but to match it with its complement, or at least a color that it contrasts or works appealingly with. The objects, once positioned well, will turn into color splotches instead of shapes and objects themselves. So, if this means placing a green gnome doll ontop of a red power ranger action figure, that's what you do.
Make sure you place the objects on an appropriate surface. As you can see in photo 1 bove, I tried a cake pan first. The thought process behind this was that it would act as its own reflector of sorts, and make sure I get maximum light in the oil/water. Well, it didn't quite work as planned. Instead of getting more reflected light, I got glint. When you're dealing with colorful abstracts, glint is not a good thing. So, ditch the pan and go for something that you like the color of. Or is see-through. Or, if you must use a pan, make sure to have enough objects to cover the entirety of the surface. Whatever you choose, make sure it's as flat as possible. You'll likely have to prop this up as well. - Elevate the container at least knee-high (higher with a lower-focal-length macro lens as the working distance is shorter). This will ensure you get a reasonable height of the camera while you're shooting. During shooting, you will be actively engaged chasing your favorite compositions; more on this later. But it will require lots of tiresome bending over if you don't lift the container up high enough to begin with.
Make sure to position the objects far enough away from the surface of the liquid so that the contours of the objects aren't rendered, and they are thrown 100% out of focus, and into nice colors. Too close and you will get colors, but still noticeable shapes. This is no good because, while it may work in water portions, the portions that are actually globules will show shapes more easily. If you place the objects too low, you will get a VERY grey image, with very little of interest. Case-in-point: Notice that the colors are VERY washed out, and the globules look MUCH more like bubbles. It looks alot like a pond after a nice dusting of pollen instead of the wonderful, vast, complex celestial-esque photos you saw in the beginning. The inside of the bubble-like globules are gaining shapes instead of color as well. Not a good thing.
Just as if you put them too far away you get shapes in the bubble-like globules, if you put them too close, you'll get shapes, well, everywhere. It will look like a photo with a layer of oil over it. Case-in-point: So, once you find a good placing for both the container and the objects, stick with it and work with your aperture from there. It should be deep enough to make sure you get the entire layer of oil in focus, but not so deep as to render shapes of the objects. There's a fine line. Do not cross it.
- Fill the container with 1.5-3" of water. Keeping it a lower amount of water ensures no oil globules get lost in the lower trenches in the later steps. By giving the less room to move vertically, it thereby ensures it stays in a thiner layer on top, relatively speaking. This will make it alot easier to get a nice DOF and ensure the tops and bottoms of globules are in focus. Remember that we are photographing a 3D LAYER of globules. Not a flat sheet. So, this is important.
- Add a layer of oil to the water. The layer should be about 110% of what it takes to cover the surface. The extra 10% is for two reasons. One is to add some depth to the photos (the other will be revealed later on). Now, I know I said earlier that depth isn't to be searched for. I mean to say that depth is to be very carefully controlled. The extra oil will enable you to get small and large globules alike, as well as some super fine bubble-like globules in the background that add nice negative-space-filling star-like globules.
- Choose camera settings that suit your scenario. This is a bit trickier than one might expect. *spoiler alert* You're going to be stirring the bubbles, so you're going to need a quick shutter speed. This isn't going to be too much of a problem since the sun is shining directly on your oil, but, just to be sure, try to keep it around 1/500s+ to not only cancel out the movement of the oil itself, but also any camera shake (we are at macro distances), and any additional movement that may come from wind or vibrations of the water.
As for aperture, I find that F/9-13 work best. Too small (16-22), not only do you get diffraction, but you will start getting too much in focus. The colors will start rendering into shapes, and any dirt, etc on the bottom of the container will show up. Particles in and on the water will appear. All kinds of unexpected, unwanted things will pop up. I tend to work with the larger apertures (F/9-10) most of the time and just deal with depth differences as well as possible.
ISO should say as low as possible, and still allow the smallish aperture and fast shutter speed. I tried to keep to ISO50 on my D800 to gain maximum dynamic range and color detail. It worked well most of the time, though, ISO100-200 was used successfully as well. You know the limitations of your camera. Just keep it as low as possible in order to avoid artifacts showing up later in post.
SHOOT RAW. Period. JPG WILL NOT work for this. If you listen to anything of this whole tutorial, listen to this. It's easily the most important tip I can offer you in this scenario. You will be editing these files, and will NEED to shoot RAW to unlock the full potential of the files and really get stunning images.
Don't focus too much on the histogram. I know this sounds backwards, but trust me here. The outer circles of the globules will likely show off alot of light, and shoot some 'mountains' in your histogram toward the highlights. This doesn't mean that the file is exposed properly for the best outcome. You'll notice as you shoot that some files will look best underexposed, some will look best high-key. That's totally a subjective topic, and I'll let you choose which you think works best for you (or, shoot and adjust in post. You can do this, since you listened and are shooting in RAW. :) )
Turn OFF autofocus. Just forget about it completely. You will NOT be able to use it. Try it and check back. 'Nuff said.
The last thing is to make sure the camera is as level with the oil's surface as possible. This will ensure your focal plane is equal to that of the oil, and your aperture will effect the whole frame equally. - Add ONE drop of dish detergent. It's important to restrain yourself to one drop here. You will see when you drop it in that it's quite powerful stuff. The oil will shoot away from it like greased lightning. This is a good thing, though. This is what will make sure the oil isn't a sheet, but remains as globules. This is where the extra 10% of oil comes in handy, as the detergent will slowly break down the oil.
- Stir. The more vigorously you stir, the more small globules you'll get. Granted, these don't stick around too long, though. They will rather quickly combine to create larger globules, so catch them quick if you want them. But, because you stirred so vigorously, the water/oil's surface will be quite turbulent; both in terms of waves as well as motion of the oil. So, it's a double-edged sword.
One way I figured out how to almost avoid this is to stir up the oil on the other side of the container, and coax it over toward the camera. It doesn't solve the problem, but it definitely lowers the time it takes to settle down, and gives you a bit more time with the smaller bubbles. This takes a bit of practice, and trial-and-error. - Snap wisely! Shoot tons. Shoot lots. Shoot well. The great thing about digital is that you can shoot as much as you want, really. So, make sure you have the room. Just make sure you don't get too excited about all the pretty colors and entertaining antics of the oil. Focus on strong compositions, good color combinations, and shoot accordingly. Don't shoot nice snapshots. Shoot beautiful photographs.


Here are some shots that I thought were particularly nice from my time shooting. I'd love to know what you think!


And, just incase you were curious in advance what it will look like through the viewfinder..
As always, thanks alot for stopping by! Any and all critiques you have are always appreciated. If you have any questions, feel free to leave them below. I'd be happy to answer them!
Mark
No comments:
Post a Comment